Implement an OAuth 2.0 Server (Part 19)
Welcome to the nineteenth and final part of a series of posts where we will implement an OAuth 2 Server using AspNet.Security.OpenIdConnectServer.
Pushing to Azure
To finish off this project, we’ll be deploying our application to the free tier of Microsoft Azure. We’ll be taking most of our cues from Nate Barbettini’s excellent Little ASP.NET Core Book
For the purposes of this tutorial, I assume you already have a Microsoft account and are willing to use it to deploy to the cloud.
Deployment File
Like any other git tool that builds, like Travis or Circle CI, we need a file that describes what to build and what to output. This becomes doubly useful if you have separate test projects as part of your solution, like we probably should have done.
At the root of your solution, in our case the base OAuthTutorial/ folder, create a .deployment file and open it in your editor of choice. Make sure no file extensions like .txt were added. This is your standard extensionless dot-file.
.deployment:
[config]
project = OAuthTutorial/OAuthTutorial.csproj
Azure Login
If you’re already familiar with the Azure cli process, you can skip this step. Otherwise, you’ll need to login first.
Type this and then follow the prompts, which involve opening your browser and typing in a code, in a sort of reverse two-factor authentication step.
az login
Azure Creation
We’re going to create four things on Azure:
- a Resource Group
- an App Service plan
- a Web App template
- and an Azure User
For the sake of the tutorial, we’ve chosen OAuthTutorial as our name for the project and the final deployed website - but you won’t be able to do so since websites on azure are globally unique. You should choose a different root name for your azure website. If you’re feeling uncreative, you can call it OAuthTutorial2 or something of a similar creative caliber.
Be sure to properly suffix each of these items with Group, or Planaccordingly. You can leave App off, because the final Url will be prettier that way. Either way, you don’t have to this, but it’s good practice.
Resource Group Creation
If you’ve never done this before, or you want to segregate this application from your other resources, then we’ll need to create resource group:
az group create -l eastus -n OAuthTutorialGroup
You should see a returned JSON object similar to the object shown below:
{
  "id": "/subscriptions/xxx-xxx-xxx-xxx-xxx/resourceGroups/OAuthTutorialGroup",
  "location": "eastus",
  "managedBy": null,
  "name": "OAuthTutorialGroup",
  "properties": {
    "provisioningState": "Succeeded"
  },
  "tags": null
}
Consult this map here for a list of locations better suited to you. https://azure.microsoft.com/en-ca/global-infrastructure/regions/
Or you can use the command: az account list-locations
Service Plan Creation
We’ll be using the F1 tier, which is the Azure free tier.
az appservice plan create -g OAuthTutorialGroup -n OAuthTutorialPlan --sku F1
If successful, meaning that the name you’ve chosen is available, you’ll get back another JSON object that looks something like this:
{
  "adminSiteName": null,
  "appServicePlanName": "OAuthTutorialPlan",
  "geoRegion": "East US",
  "hostingEnvironmentProfile": null,
  "id": "/subscriptions/xxx-xxx-xxx-xxx-xxx/resourceGroups/OAuthTutorialGroup/providers/Microsoft.Web/serverfarms/OAuthTutorialPlan",
  "isSpot": false,
  "kind": "app",
  "location": "East US",
  "maximumNumberOfWorkers": 1,
  "name": "OAuthTutorialPlan",
  "numberOfSites": 0,
  "perSiteScaling": false,
  "provisioningState": "Succeeded",
  "reserved": false,
  "resourceGroup": "OAuthTutorialGroup",
  "sku": {
    "capabilities": null,
    "capacity": 0,
    "family": "F",
    "locations": null,
    "name": "F1",
    "size": "F1",
    "skuCapacity": null,
    "tier": "Free"
  },
  "spotExpirationTime": null,
  "status": "Ready",
  "subscription": "xxx-xxx-xxx-xxx-xxx",
  "tags": null,
  "targetWorkerCount": 0,
  "targetWorkerSizeId": 0,
  "type": "Microsoft.Web/serverfarms",
  "workerTierName": null
}
Web App Creation
If the resource group and service plan creation succeeded, we can create the repository for our web app:
az webapp create -g OAuthTutorialGroup -p OAuthTutorialPlan -n OAuthTutorial
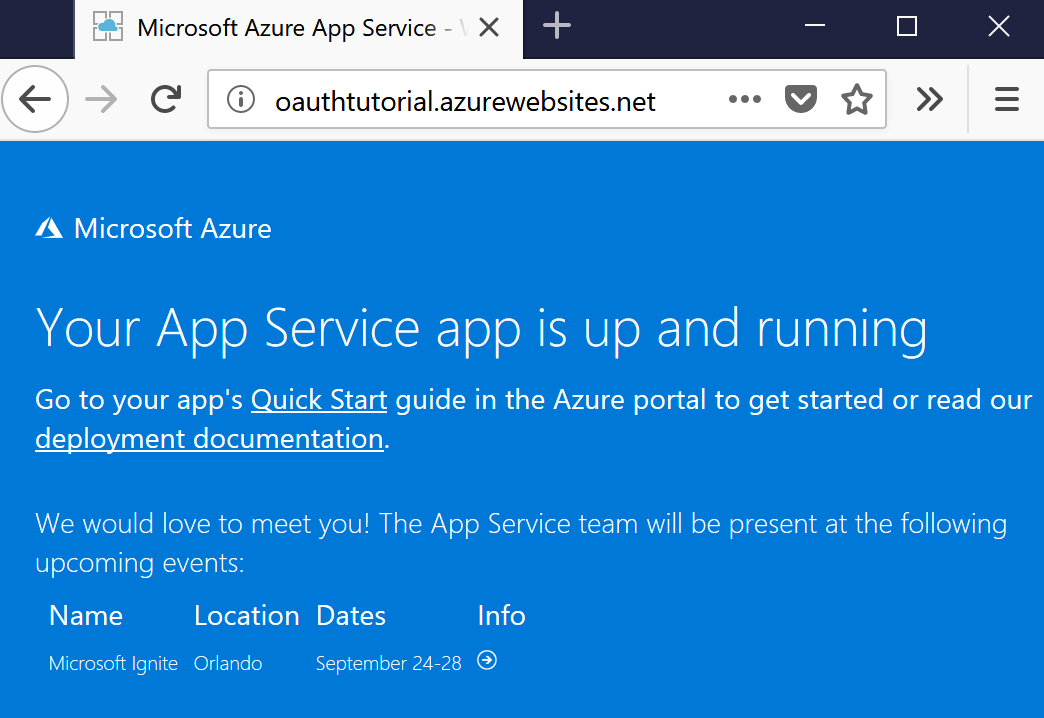
You’ll get back a huge JSON object and your website should be up and running at http://oauthtutorial.azurewebsites.net :
Create the Azure user
You’ll need to create an account to administer the web app. This is separate from the login process from earlier.
This is the account that will be responsible for pushing the deployment.
On my own machine, I named my user admin because I was out of ideas.
user=YOUR_DESIRED_USERNAME_HERE
az webapp deployment user set --user-name $user
Be aware that Azure’s password policy is the following: The password should be at least eight characters long and must contain lowercase and uppercase letters and numbers.
Azure Deployment
Git Repo Generation
We need to create a git deploy location for our app. We can generate one with this command:
az webapp deployment source config-local-git -g OAuthTutorialGroup -n OAuthTutorial --out tsv
We get back something like this:
https://admin@oauthtutorial.scm.azurewebsites.net/OAuthTutorial.git
We’ll use this to set an upstream remote our git repository.
Set Git Upstream
Using the returned url, use the command below to set the upstream repo. Replace <paste> with the value returned to you from the previous step.
git remote add azure <paste>
Git Deploy
finally, just do a git push and watch the magic happen:
git push azure master
Site Deployed
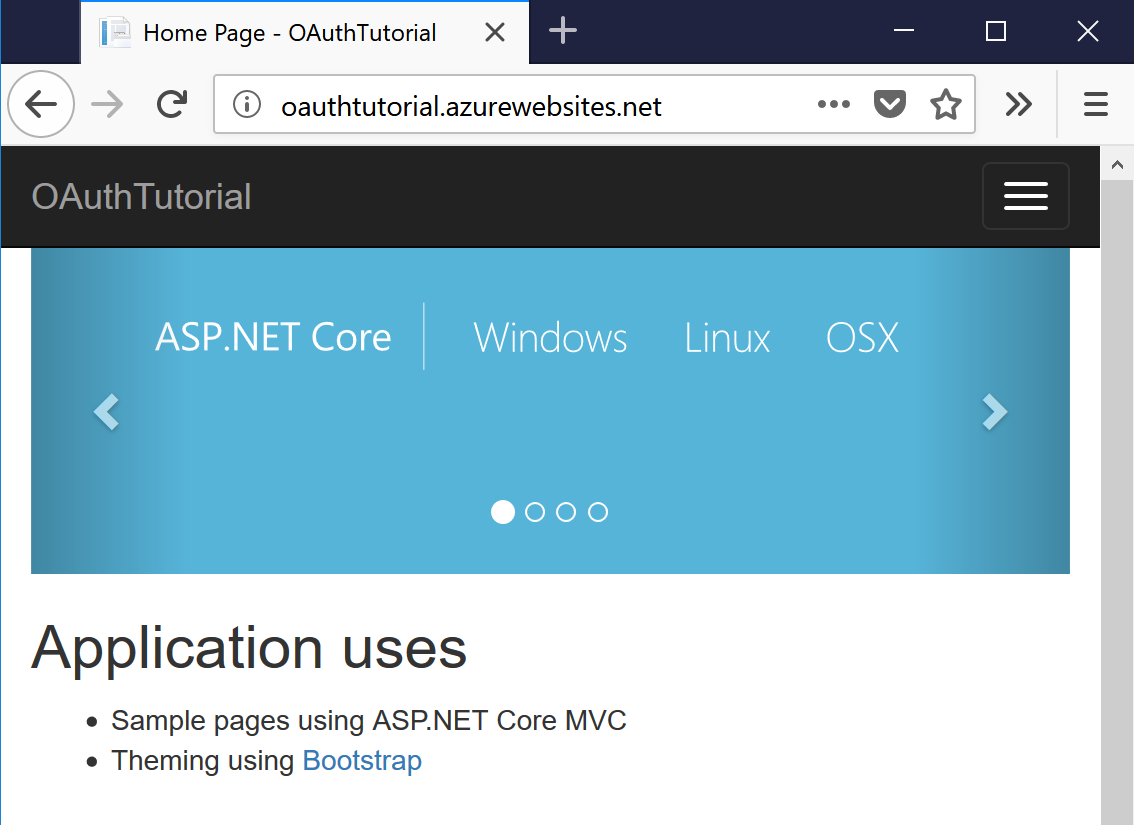
After a fairly lengthy period of time, you should be able to see your site running on your domain.
In our case, you can see the demo application at http://oauthtutorial.azurewebsites.net
End Notes
There are huge number of other methods we could have implemented in our OAuth provider class. ASOS supports endpoints like logout, or revoke or userinfo, but not every application implements those. Or, if they are implemented, they might not be done the way ASOS is expecting. Our application is the same way.
As far logout goes, we only support that by the cookie identification system that came standard with our project setup - there is no need to introduce another endpoint or handler for this action, especially because what would it mean to logout someone using access tokens? When a user logs in with a token, we don’t set any session ids, nor do we record their status in some data-store as being ’logged in’. There’s no concept of logout that readily applies to our token system. Some other systems may do more in that respect than ours, but we don’t need to worry about this one.
User info is pretty simple to implement - we already did it earlier sections, we just never got around to telling ASOS about it. We’ll just set the options.UserInfoEndpoint to /api/v1/me and be on our merry way.
Wrap Up
The OpenIdConnectServer library is deep enough to handle nearly anything you need when it comes to token based authentication. But that also means it carries with it some deep complexity. I had quite the struggle trying to implement the server at the beginning when I needed it, and it took me months of on and off tinkering to figure it out. I hope this guide will be useful to people who may be in the same boat, and that maybe the documentation of my struggles will help you avoid the steep learning curve.
Also, I’d like to thank Kevin Chalet, the main developer and maintainer of the library - not only is he super helpful and answers nearly every question thrown at him on the GitHub repo for the project, he’s also open to adding things to the library to make it more useful. For instance, not even 18 hours after I opened an issue about non-expiring tokens, he had a fix checked into the dev branch implementing it. It is “not a good idea” he said, but it has valid usecases so he added it.
So, thanks Kevin, for a very powerful, if very complicated library.
Also thanks to everyone else who I cited in the relevant posts that helped me out at various points in the way. We never interacted, but your blog posts and stack overflow questions were invaluable.
Posts in this series
- Implement an OAuth 2.0 Server (Part 19)
- Implement an OAuth 2.0 Server (Part 18)
- Implement an OAuth 2.0 Server (Part 17)
- Implement an OAuth 2.0 Server (Part 16)
- Implement an OAuth 2.0 Server (Part 15)
- Implement an OAuth 2.0 Server (Part 14)
- Implement an OAuth 2.0 Server (Part 13)
- Implement an OAuth 2.0 Server (Part 12)
- Implement an OAuth 2.0 Server (Part 11)
- Implement an OAuth 2.0 Server (Part 10)
- Implement an OAuth 2.0 Server (Part 09)
- Implement an OAuth 2.0 Server (Part 08)
- Implement an OAuth 2.0 Server (Part 07)
- Implement an OAuth 2.0 Server (Part 06)
- Implement an OAuth 2.0 Server (Part 05)
- Implement an OAuth 2.0 Server (Part 04)
- Implement an OAuth 2.0 Server (Part 03)
- Implement an OAuth 2.0 Server (Part 02)
- Implement an OAuth 2.0 Server (Part 01)